
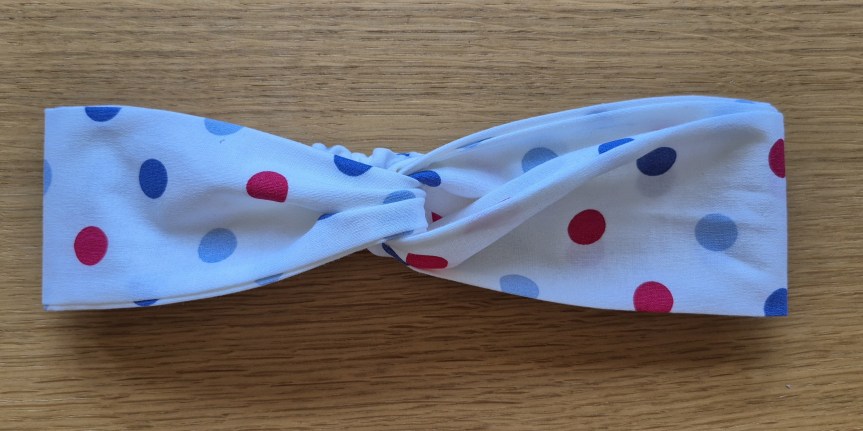
Looking for a quick sewing project that’s both stylish and beginner-friendly? This DIY twisted headband takes less than 30 minutes to make and is perfect for using up fabric scraps. It’s comfortable, customizable, and makes a thoughtful handmade gift!
Whether you’re sewing for yourself or making a batch for friends, this step-by-step tutorial will guide you through making your own twisted headband with ease.
Materials Needed
- 1 cotton fat quarter (18″ × 22″)
- Matching thread
- Scissors or rotary cutter
- Pins or clips
- Sewing machine
- Iron
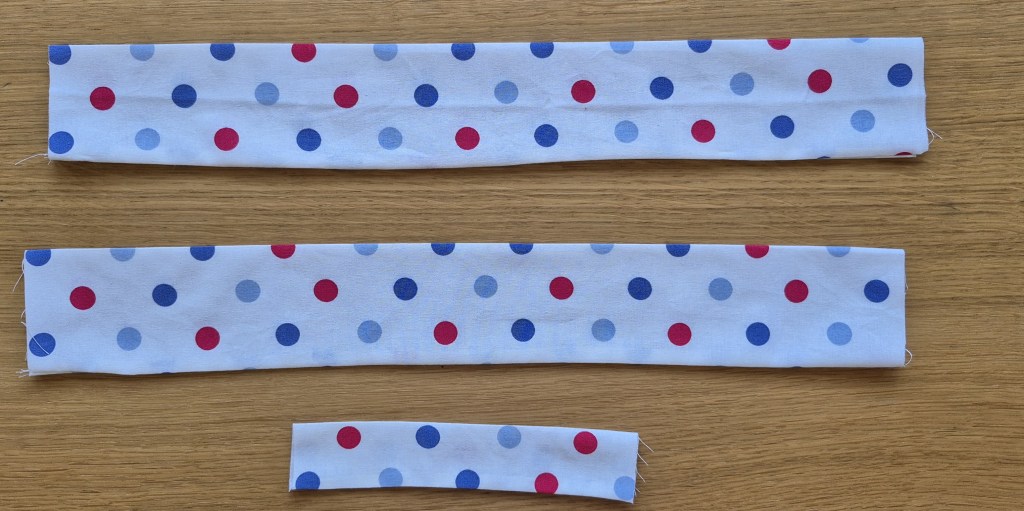
Step 1: Cut the Fabric
- From your fat quarter, cut three rectangles:
- 2 Headband pieces: 18.5″ × 6″ (50 × 15 cm)
- Elastic casing: 8″ × 3.5″ (20 × 9 cm)
- You’ll also need a piece of elastic, 4.75″ long (12 cm), about ½” wide.
(This sizing works for most adults. You can adjust the elastic length for a tighter or looser fit.)

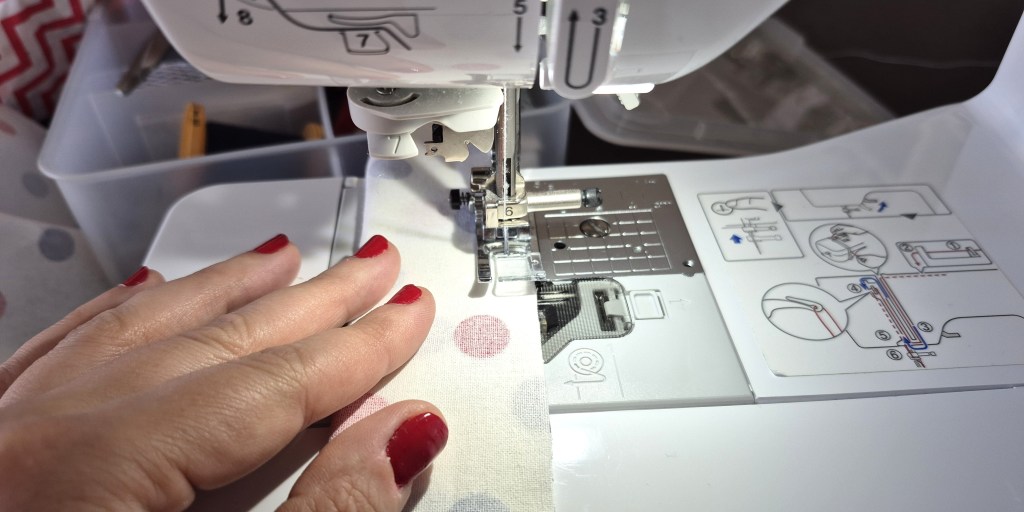
Step 2: Sew the Main Headband Piece
- Fold the headband pieces in half lengthwise, right sides together.
- Sew along the long edge with a ¼” (6 mm) seam allowance.
- Turn the tubes right side out and press flat with the seam centered.
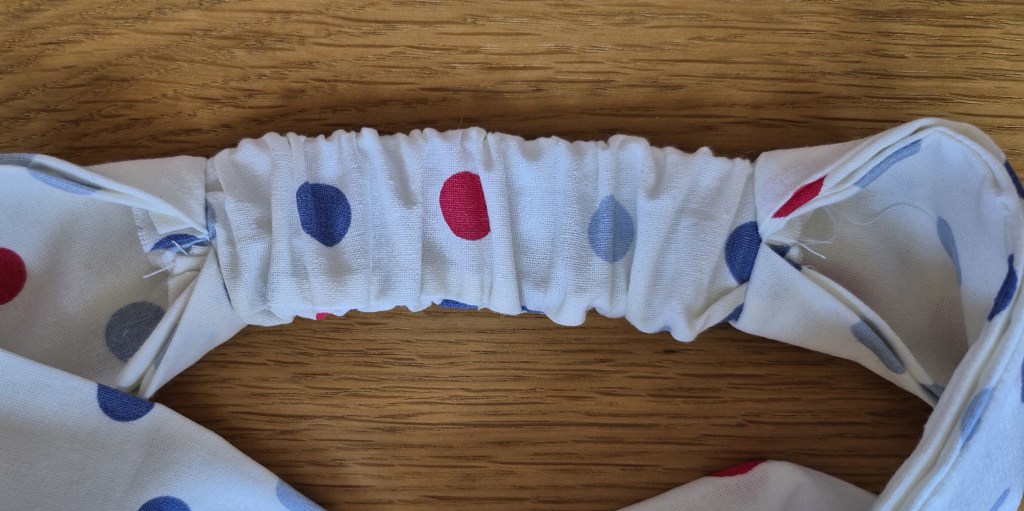
Step 3: Add elastic to the casing
- Thread the elastic through the casing (use a safety pin to guide it).
- Pin the elastic to each end of the casing (see photo for reference)

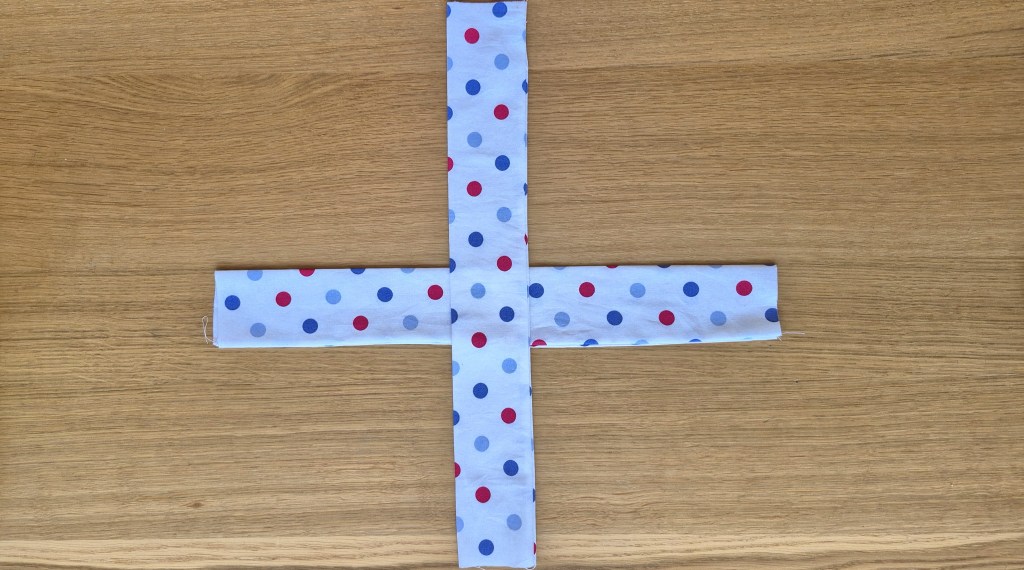
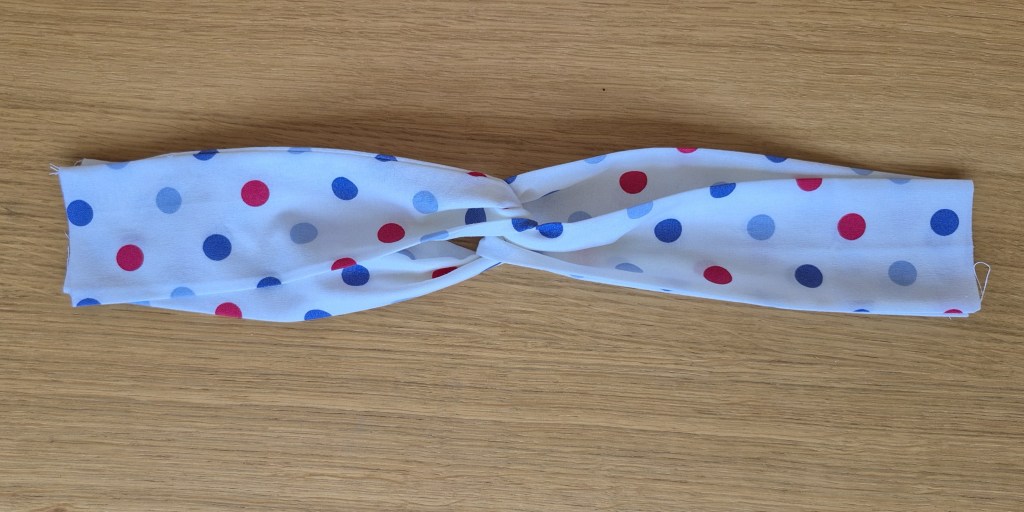
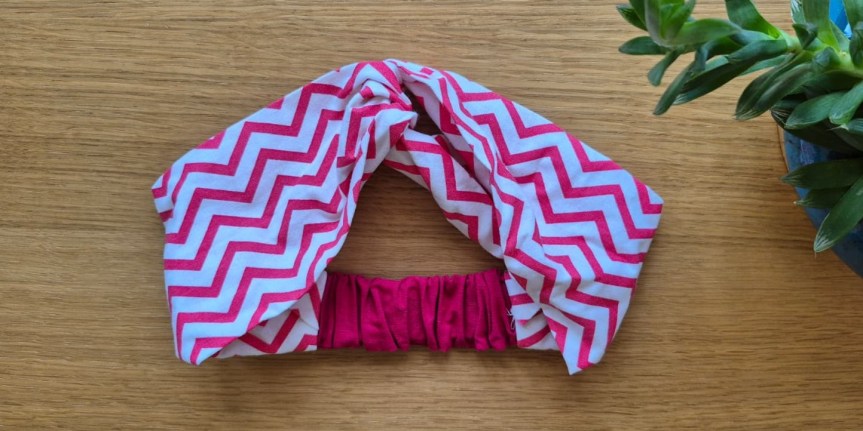
Step 4: Form the Twist
- Lay the two headband fabric tubes on top of each other in a plus sign (+) shape.
- Fold the pieces over each other so they interlock in the center, creating the twist.
- Adjust the overlap until you’re happy with how the twist looks (see photo below).
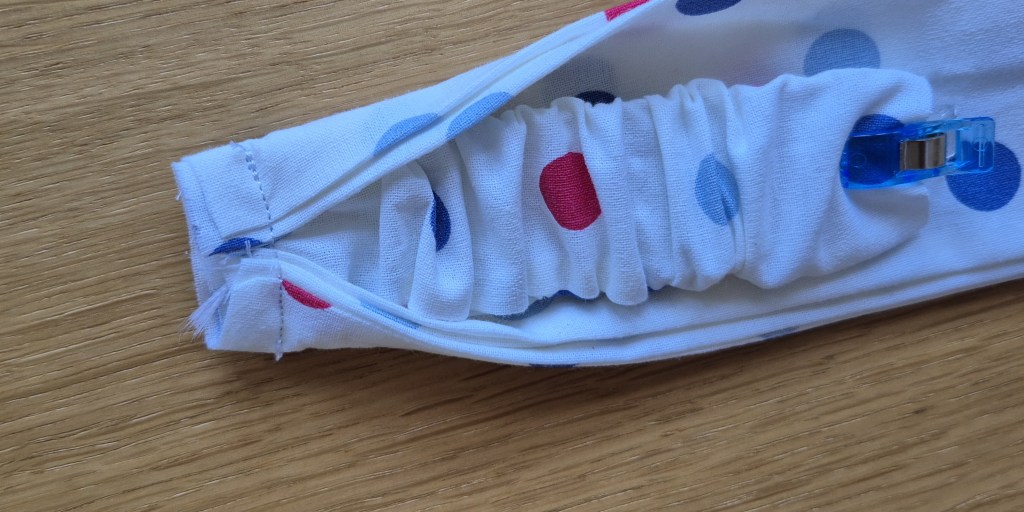
Step 5: Attach the Elastic Casing and Finish the Ends
- Slip one end of the elastic casing inside the open end of your twisted headband tubes.
- Sew straight across to secure the casing, backstitching a few times for extra strength (this helps it hold up to daily wear).
- Fold the fabric ends inward over the seam so the raw edges are neatly tucked away. This gives your headband a smooth, polished finish.
- Repeat with the other side of the casing and the opposite end of the headband.
Tip: Folding in the edges like this not only makes the headband look more professional but also prevents fraying over time.

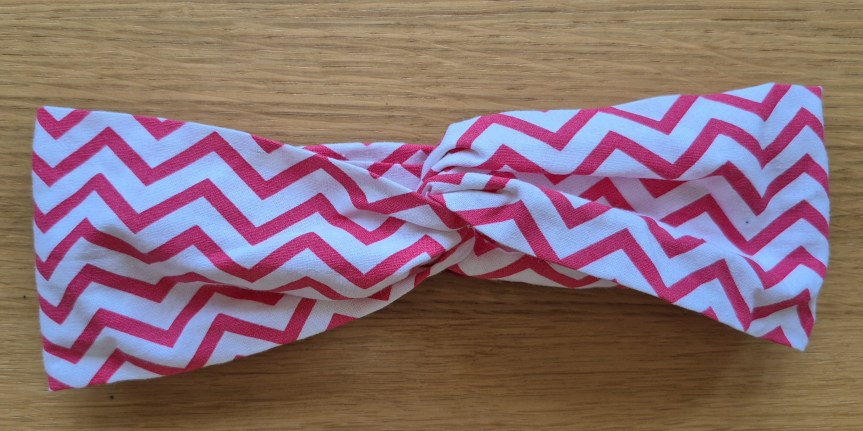
Step 6: Finish & Wear!
- Adjust the twist so it sits neatly in the front.
- Press lightly if needed.
- Your DIY twisted headband from a fat quarter is ready to wear!
This fat quarter sewing project is fast, fun, and the perfect scrap-buster. Each headband takes just minutes to sew, and once you’ve made one, you’ll want to make a whole collection in different colors and prints.
Would you use a solid color, floral, or bold print for your twisted headband? Let me know in the comments! And if you make one, tag me on TikTok or Pinterest – I’d love to see your creations.
