
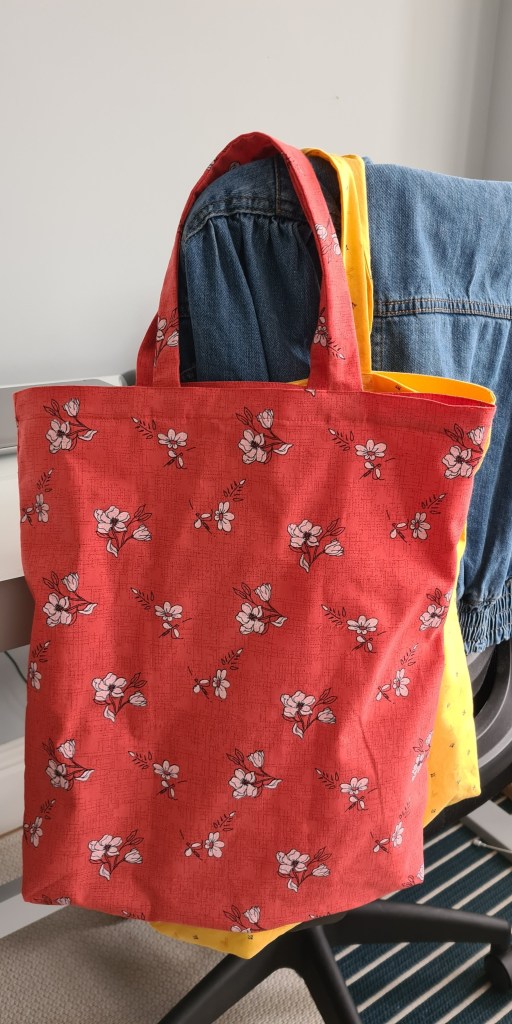
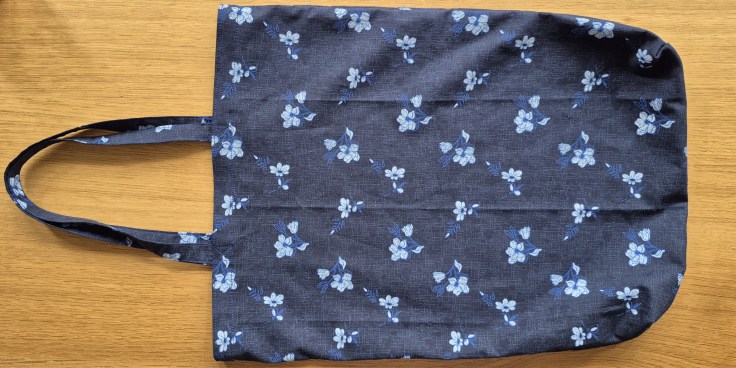
Looking for a beginner sewing project you can finish in an afternoon? This DIY tote bag tutorial shows you how to sew a simple tote bag using just two fat quarters. It’s budget-friendly, beginner-friendly, and makes a great reusable shopping bag or handmade gift. If you’ve got some pretty fat quarters in your stash, this is the perfect way to turn them into something useful!
What You’ll Need
- 2 fat quarters (18″ × 22″ / 46 × 56 cm)
- Matching thread
- Fabric scissors or rotary cutter + ruler
- Pins or clips
- Iron + ironing board
- Sewing machine
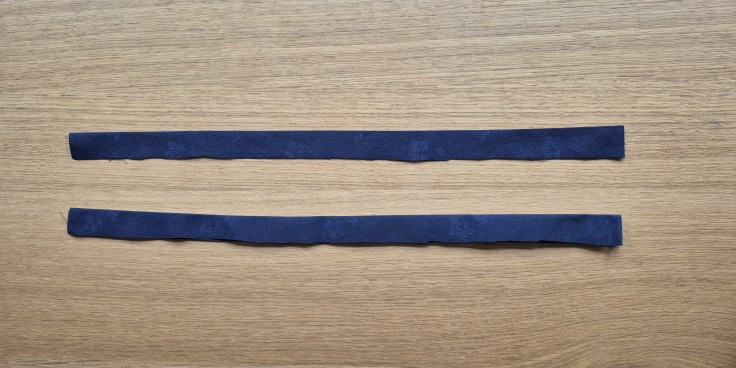
Step 1: Cut the Handles from Your Fat Quarters
- From the side of each fat quarter, cut out an equal strip of fabric to create the tote handles.
- Each strip should be long enough for comfortable shoulder straps (about 20–22″ / 50–56 cm) and 3″ (7.5 cm) wide.
- Cutting the same amount from both fat quarters keeps the tote body even.

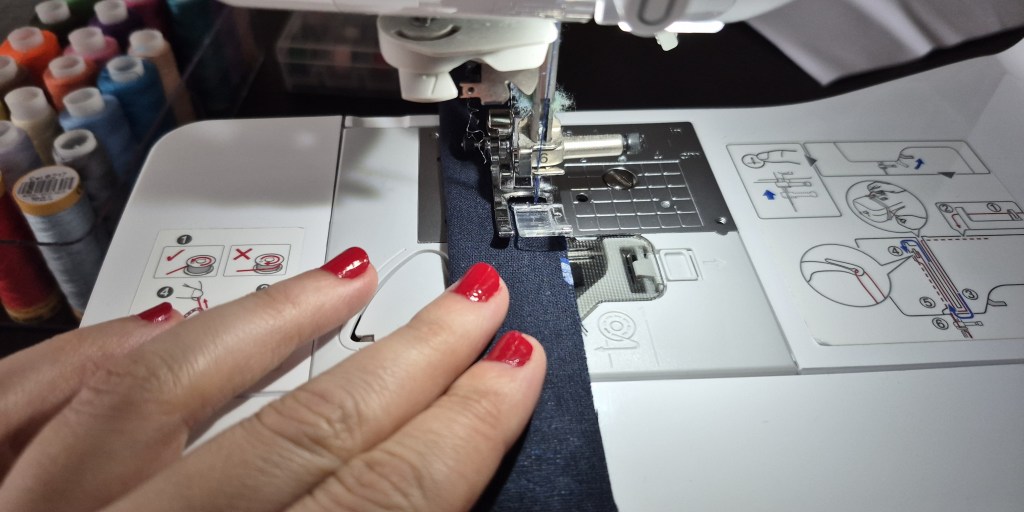
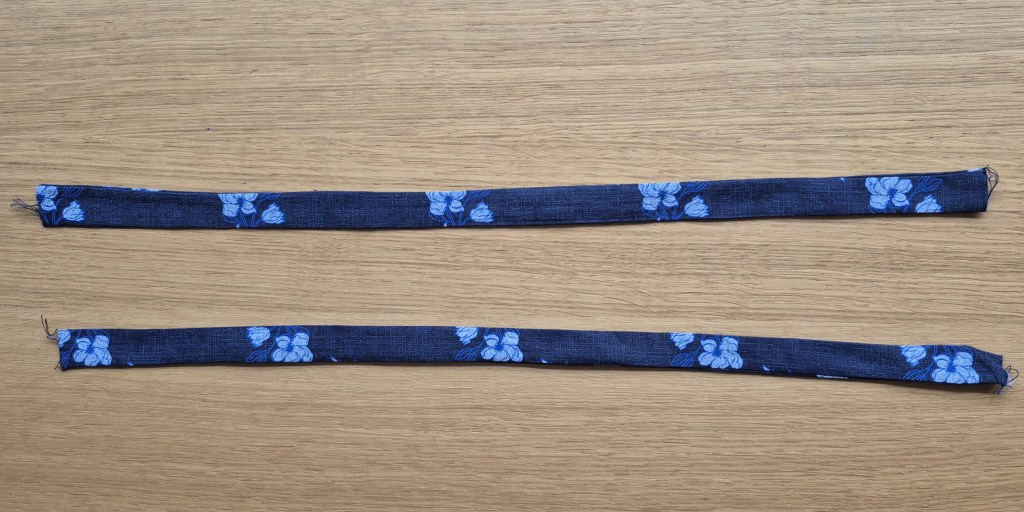
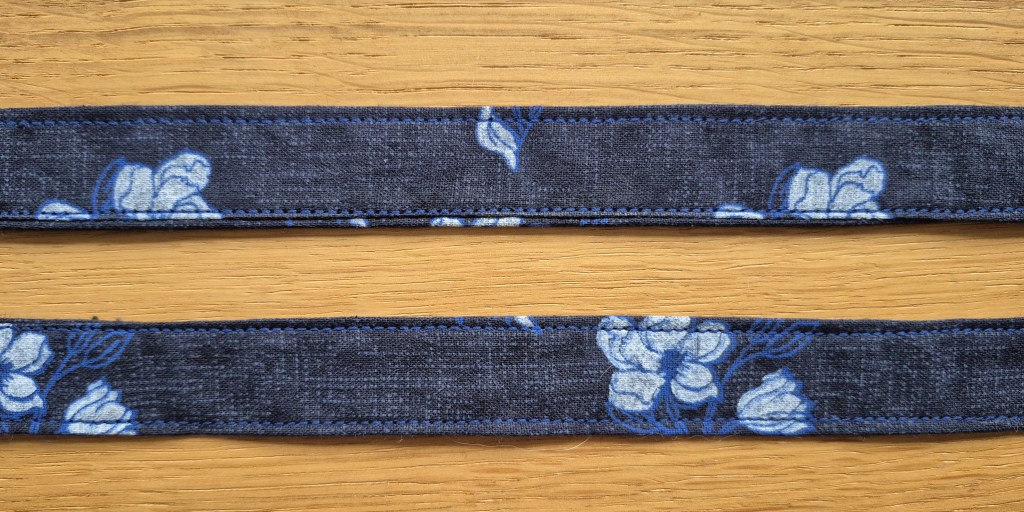
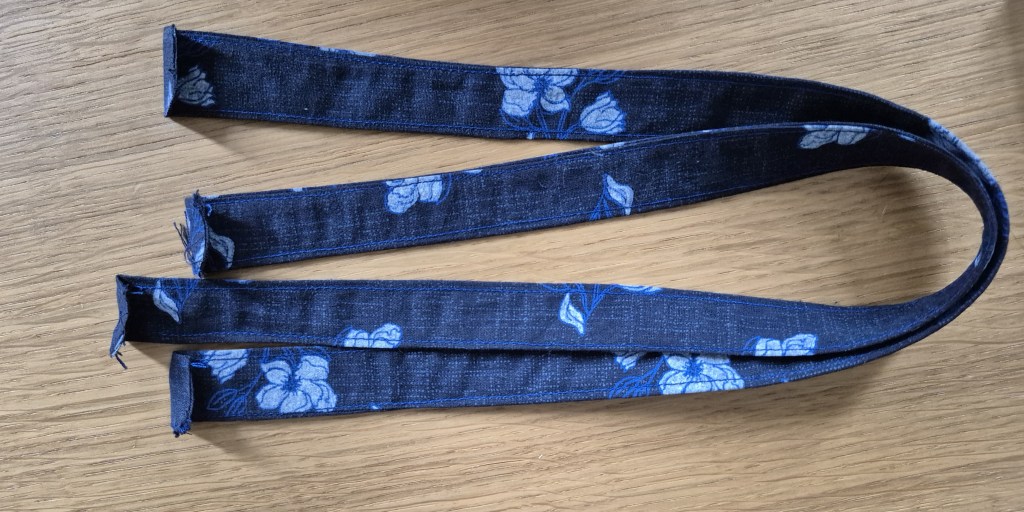
Step 2: Sew the Handles
- Place each handle strip right sides together lengthwise.
- Sew along the long edge with a 1/4″ (6 mm) seam allowance.
- Use a safety pin or tube turner to flip the handle right side out.
- Press flat with an iron.
- Topstitch down both long edges to reinforce the straps and keep them from twisting.
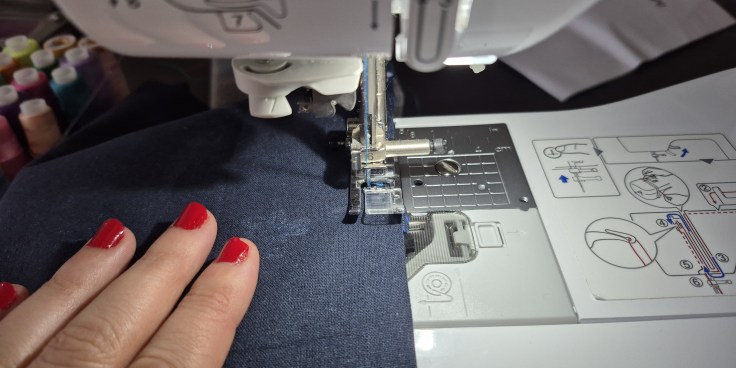
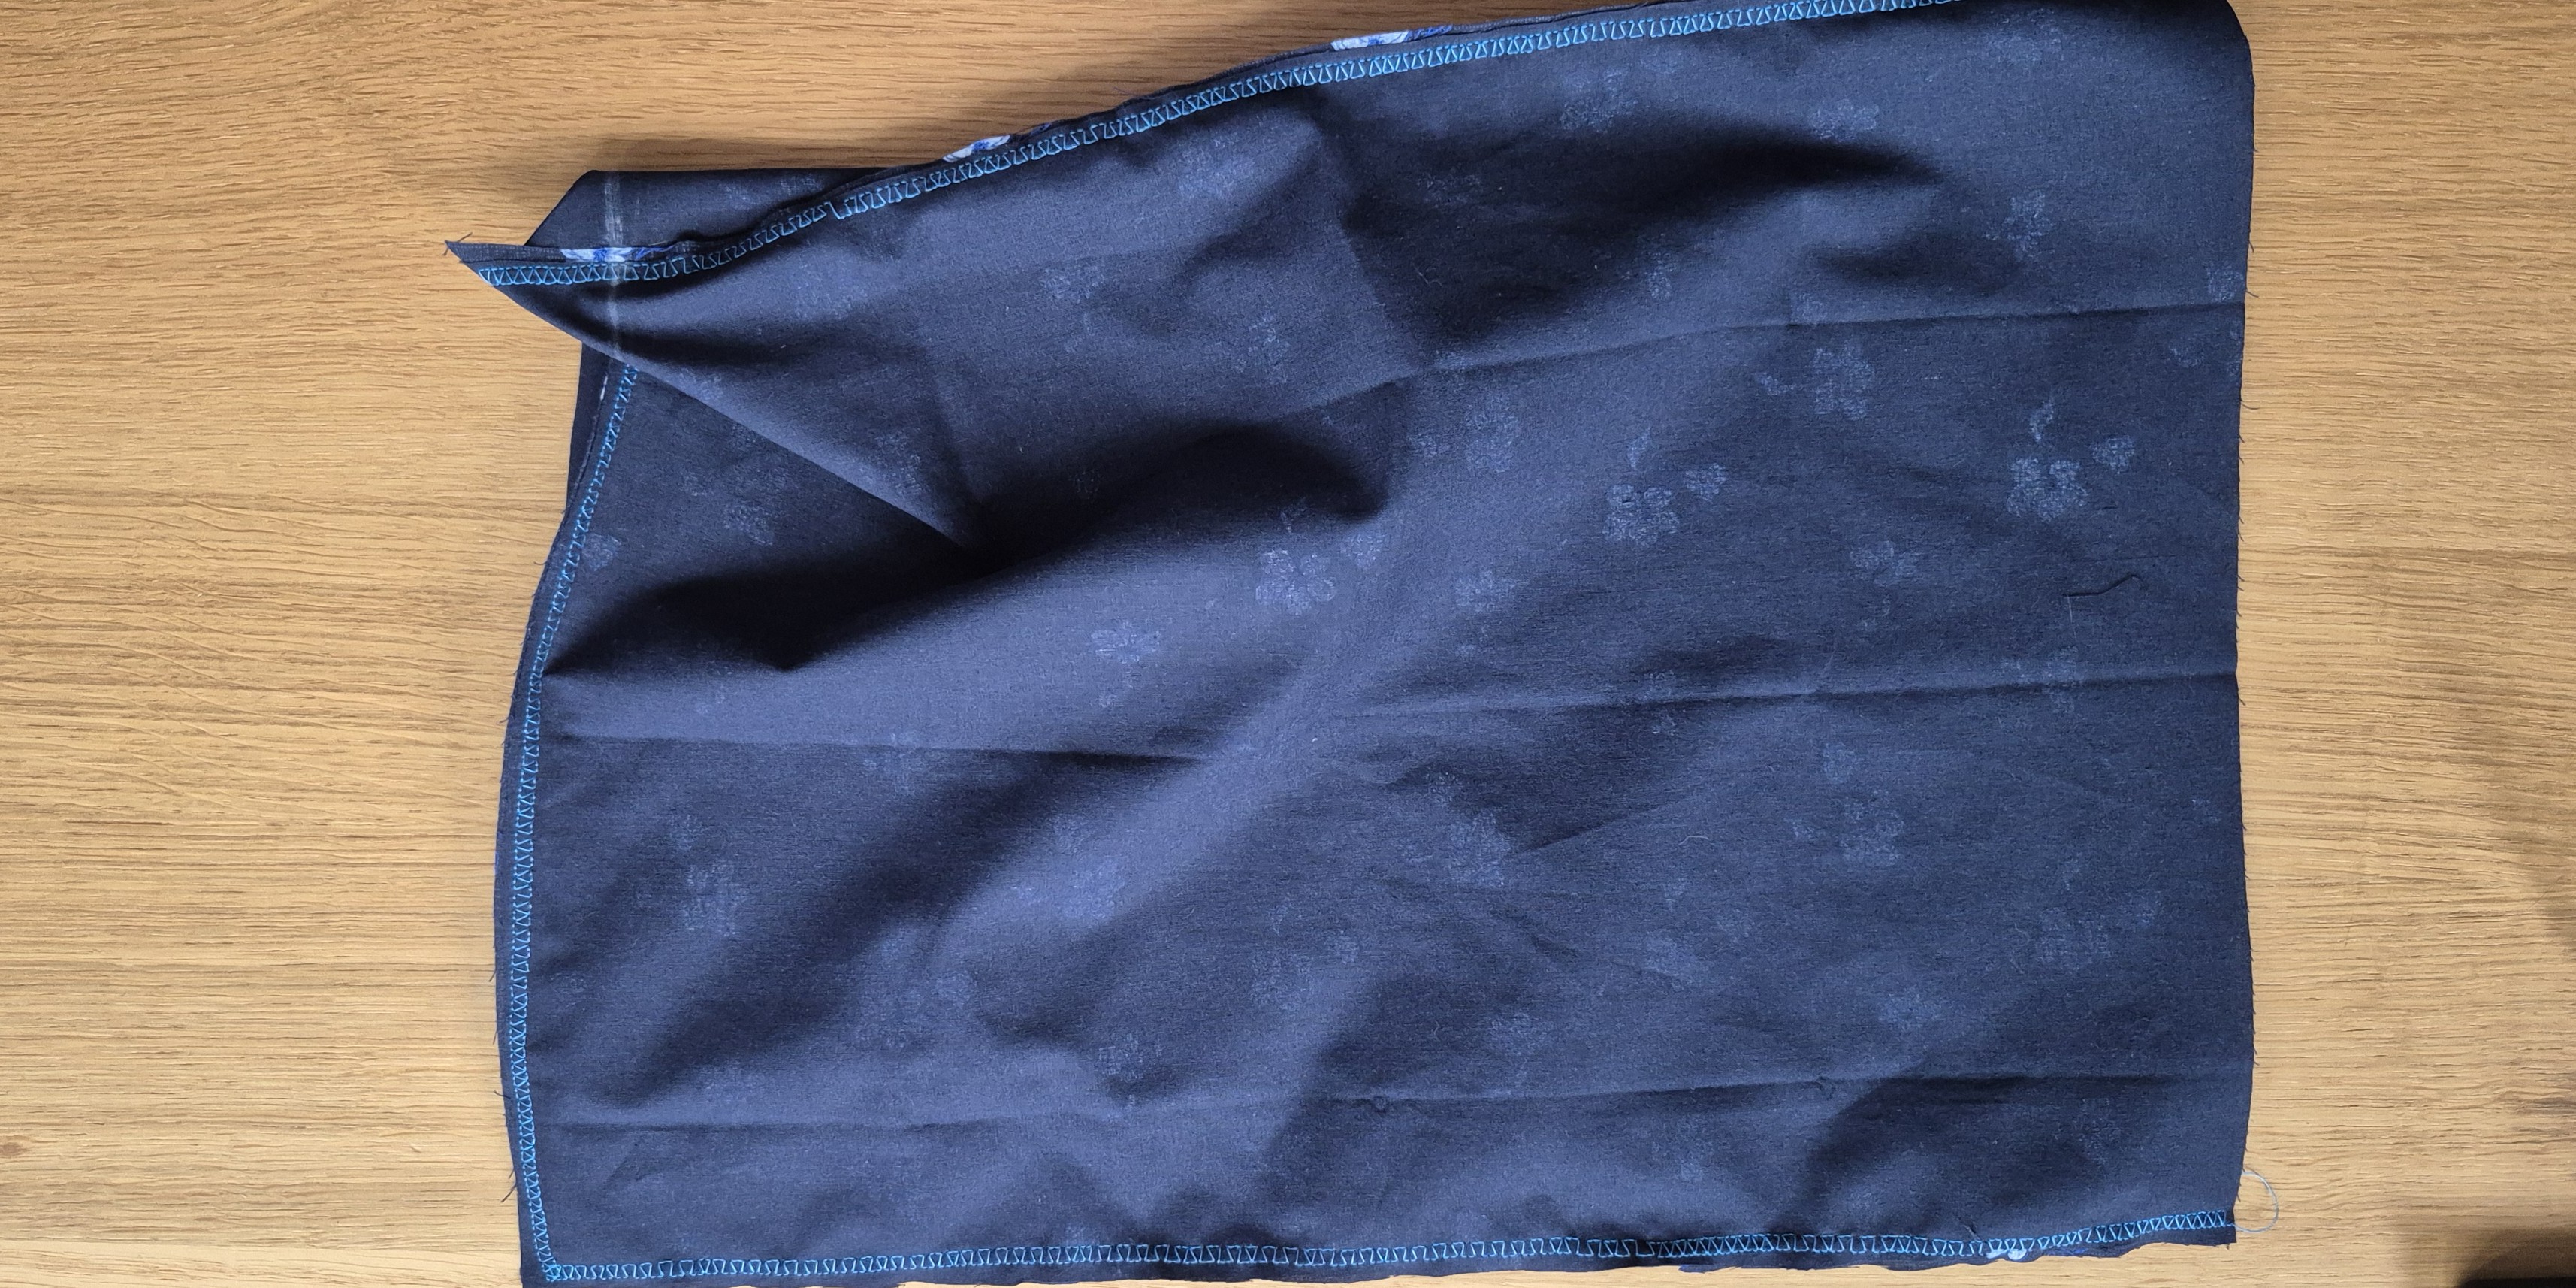
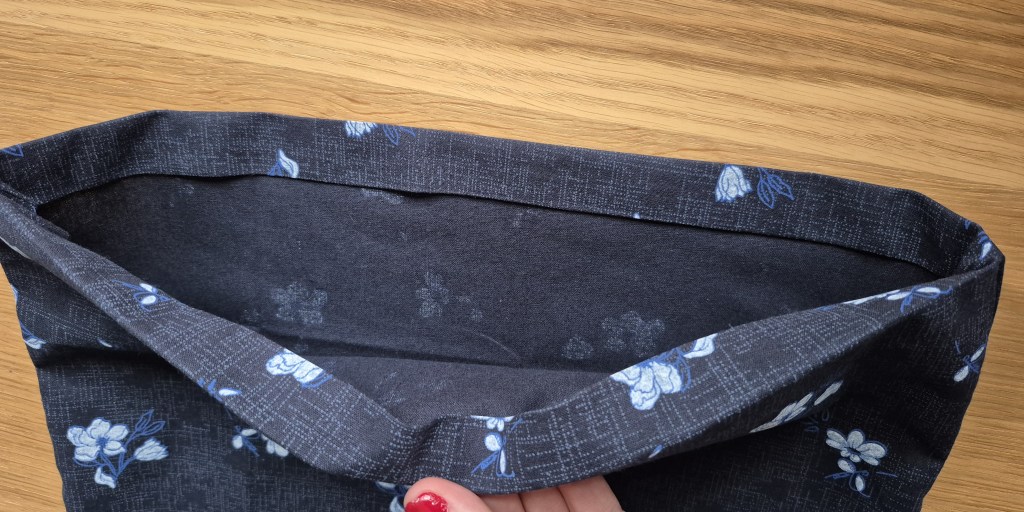
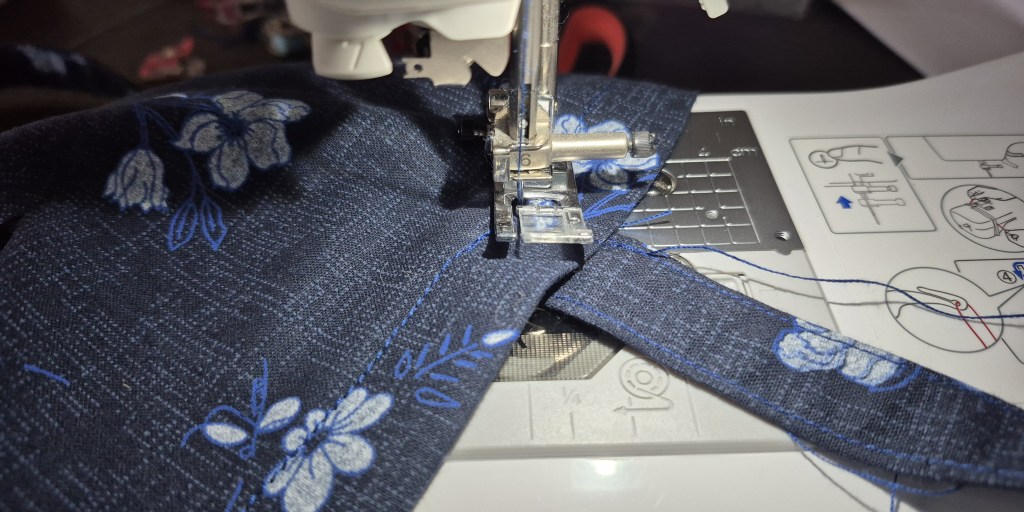
Step 3: Sew the Tote Body
- Place the two fat quarters right sides together, edges aligned.
- Sew down both sides and across the bottom with a ½” (1.25 cm) seam allowance.
- Leave the top edge open, this will be the opening of your tote.
- Press the seams open with an iron.
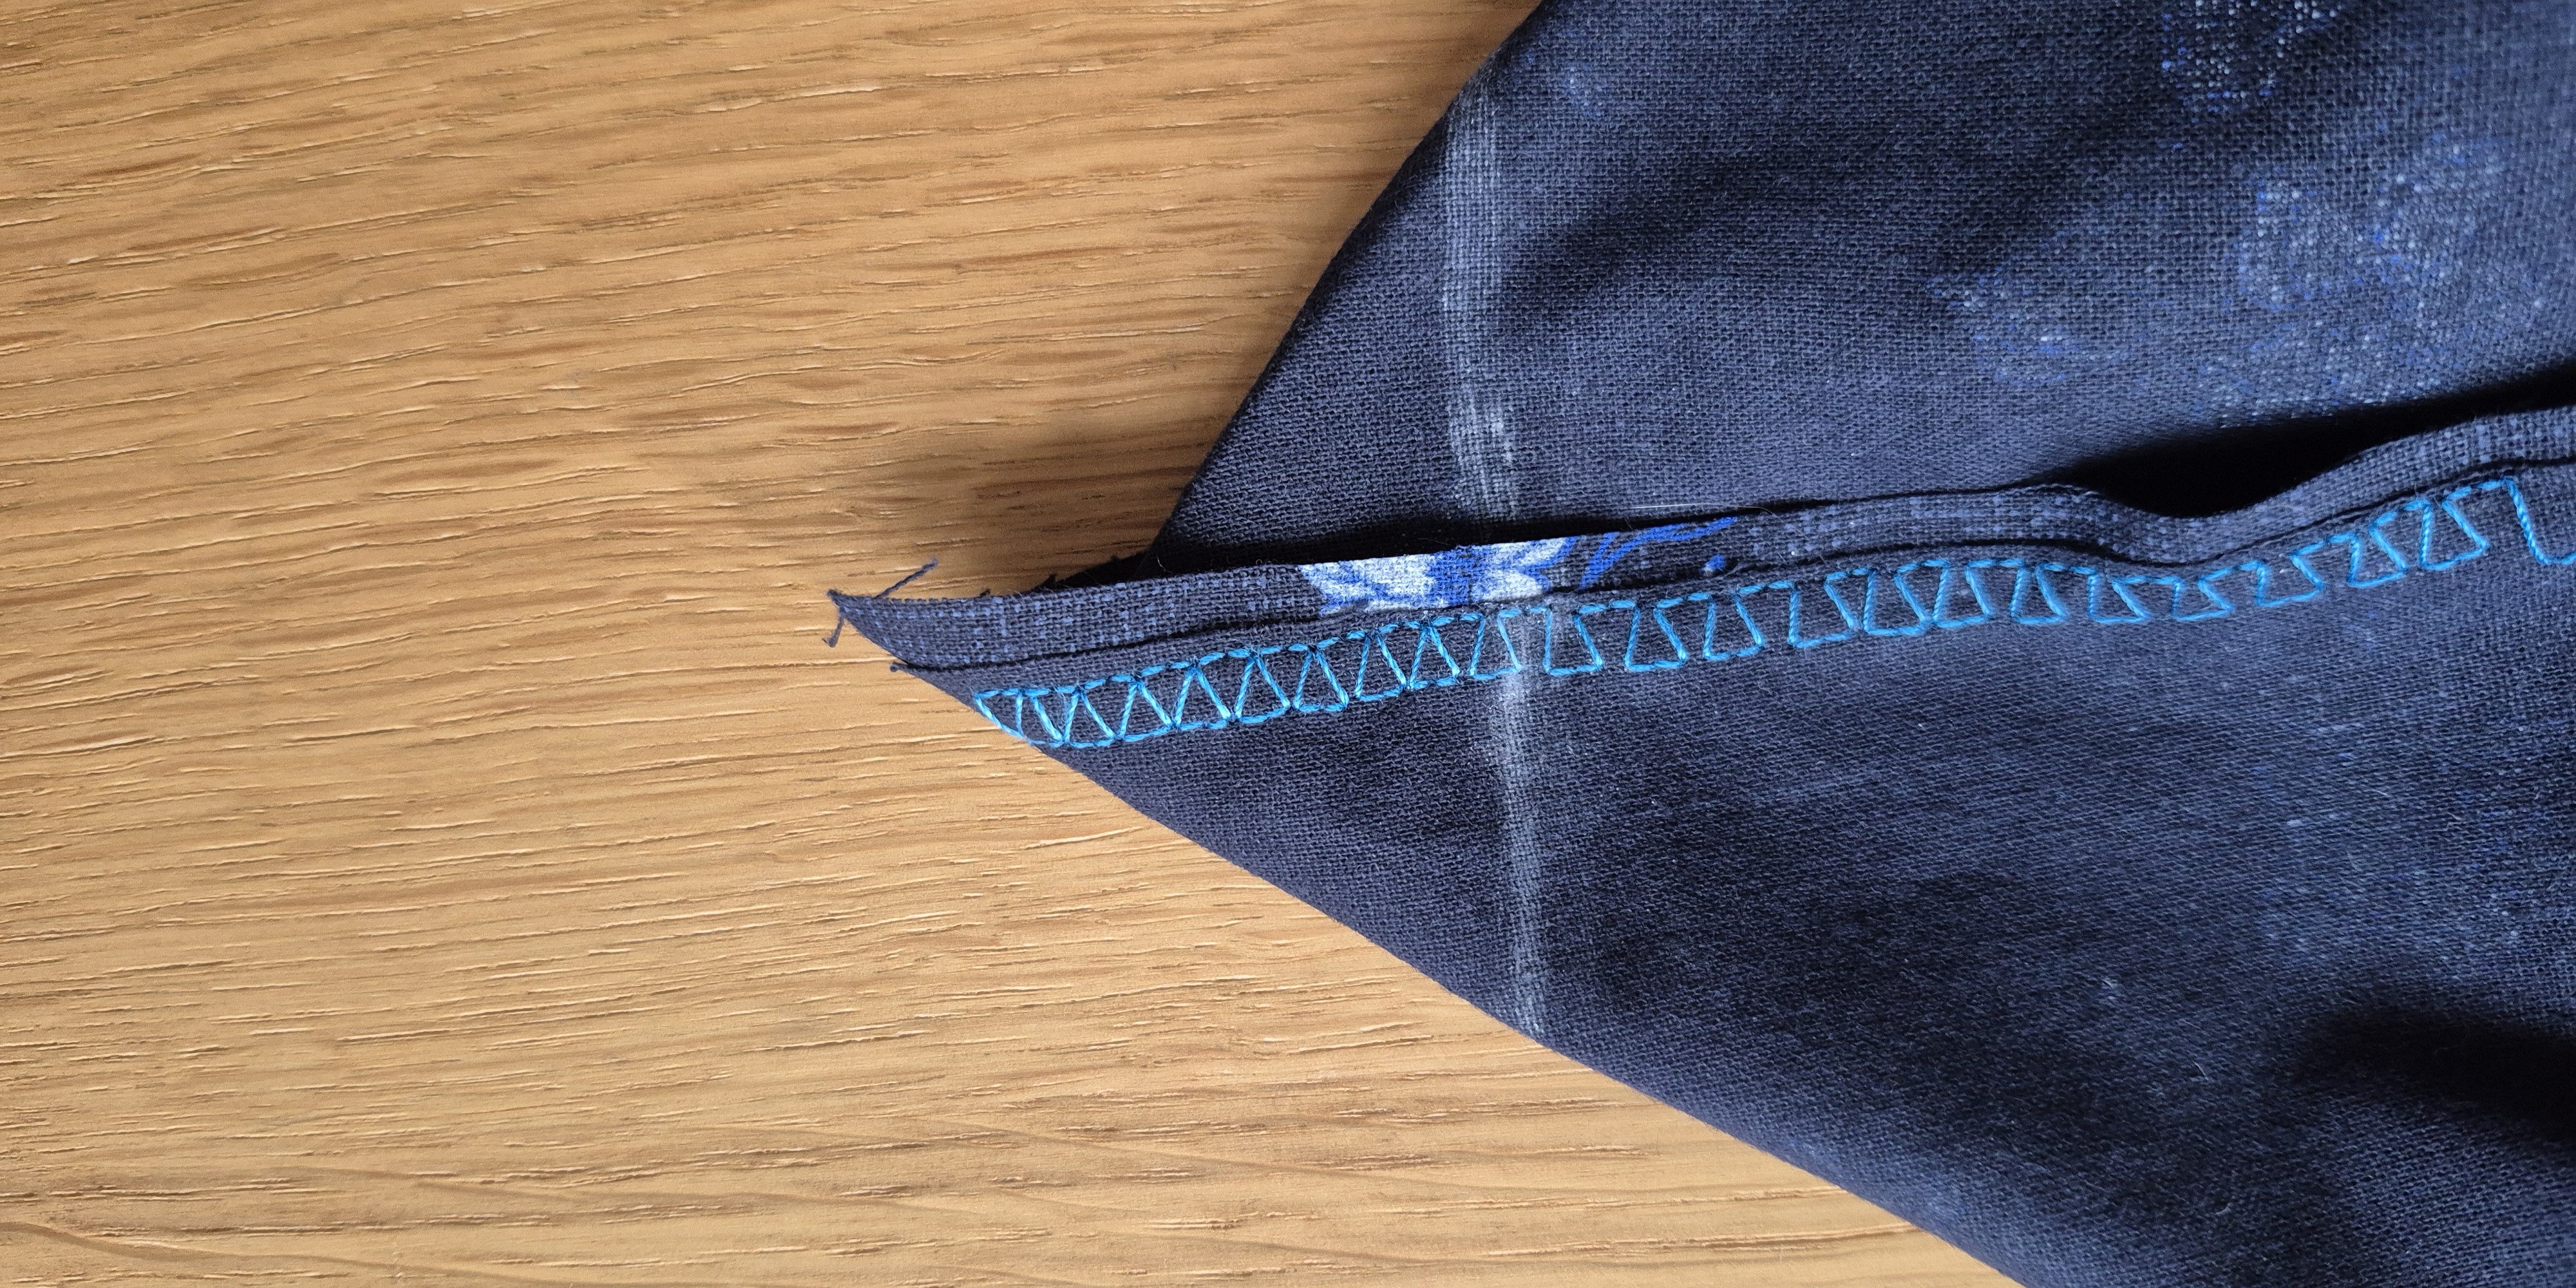
Step 4: Box the Corners
- For a flat base, pinch each bottom corner so the side seam lines up with the bottom fold.
- Measure about 1½” (4 cm) from the tip, draw a line, and sew straight across.
- Trim the extra fabric.

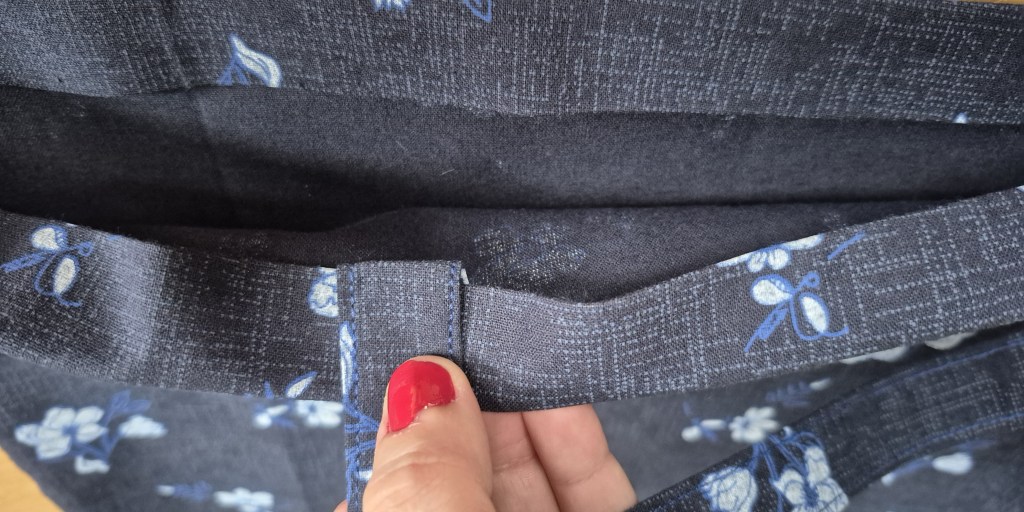
Step 5: Prepare the Top Edge and Handles
- Fold the top edge of the tote bag inward about ⅛” (3 mm) and press with an iron.
- Fold it inward again about ½” (1.25 cm) and press — this creates a neat hem that won’t fray.
- Take each handle strip. Fold and press ⅛” (3 mm) at both short ends of each handle.
- This small fold allows the raw edges of the handles to be tucked neatly inside the folded top edge of the tote.
Step 6: Attach the Handles
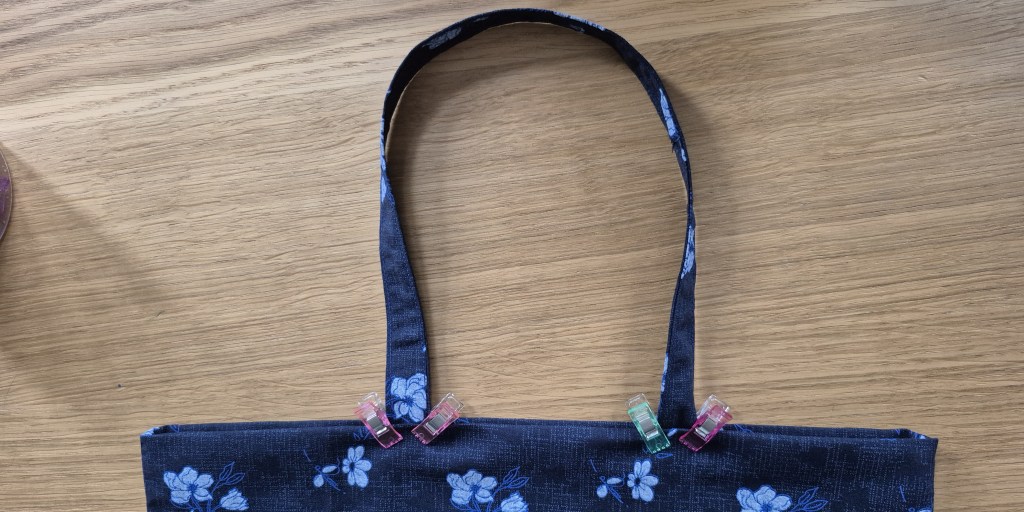
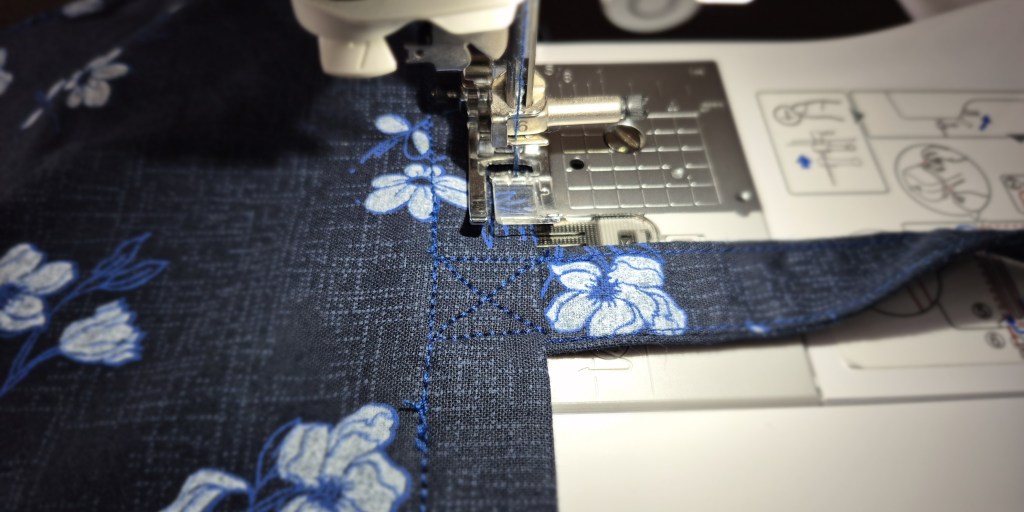
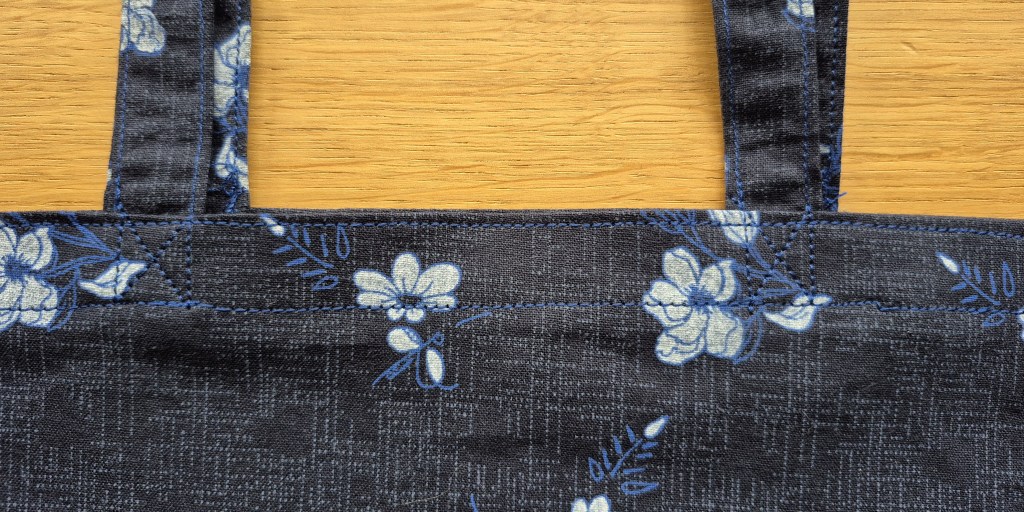
- Tuck the folded ends of the handles under the pressed top edge of the tote bag, spacing them evenly on both sides.
- Pin or clip in place, making sure the handles are straight and not twisted.
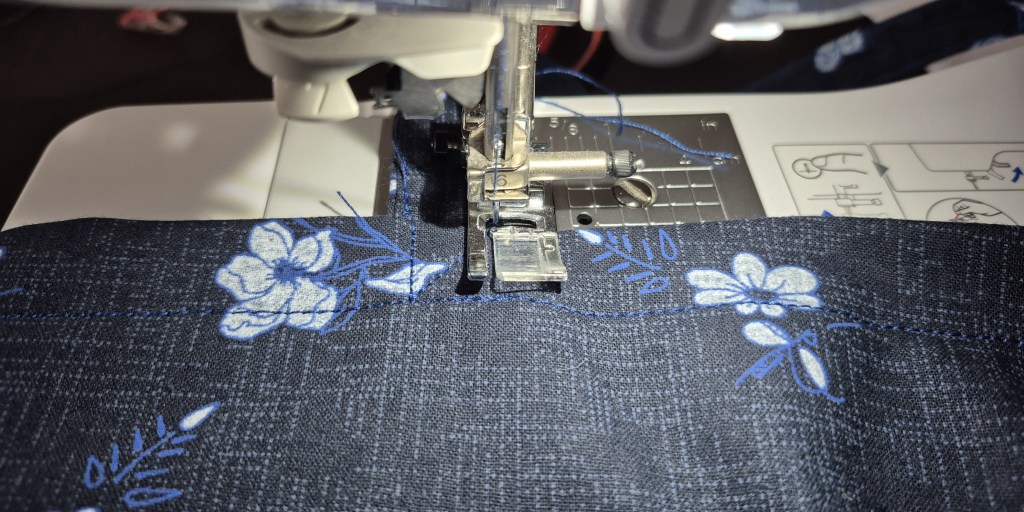
- Topstitch once all the way around the folded top edge of the tote. This will secure the hem and catch the handles in the seam.
- Topstitch again close to the upper folded edge for a neat, professional finish.
- For extra reinforcement: on the outside of the tote, where the handle ends are hidden under the fold, sew a small criss-cross box stitch. This ensures the handles can carry weight without pulling loose.


“I hope you enjoyed this step-by-step tutorial on how to sew a simple tote bag from two fat quarters. It’s one of my favorite quick sewing projects, beginner-friendly, practical, and customizable.”
Now I’d love to hear from you!
- Have you ever made a tote bag before?
- What fabric would you use for yours?
- Would you like me to share more fat quarter sewing ideas?
Share your thoughts in the comments below, and don’t forget to pin this tutorial to Pinterest or share it with a sewing friend!
And if you’d like to get more beginner sewing tutorials (plus free patterns, like this one), make sure to subscribe to my blog so you don’t miss the next project.
