
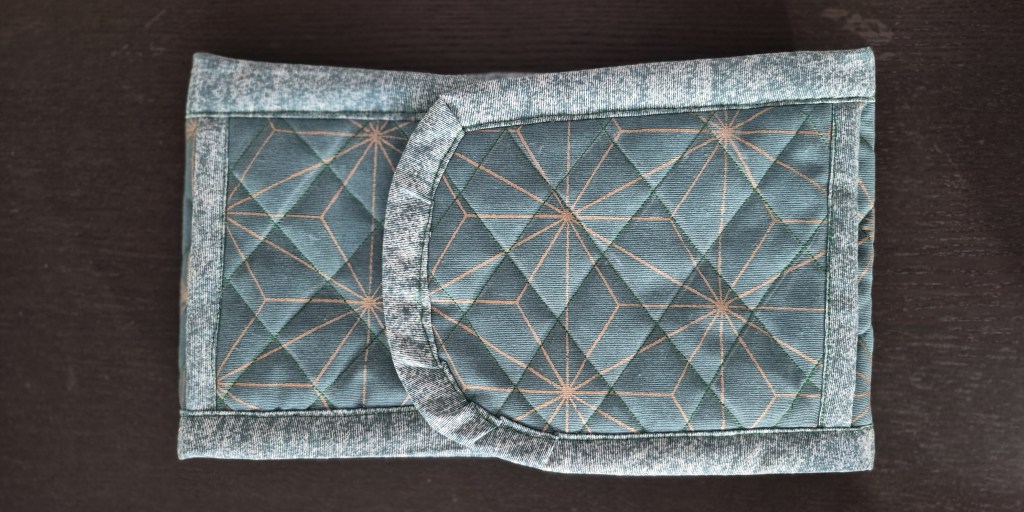
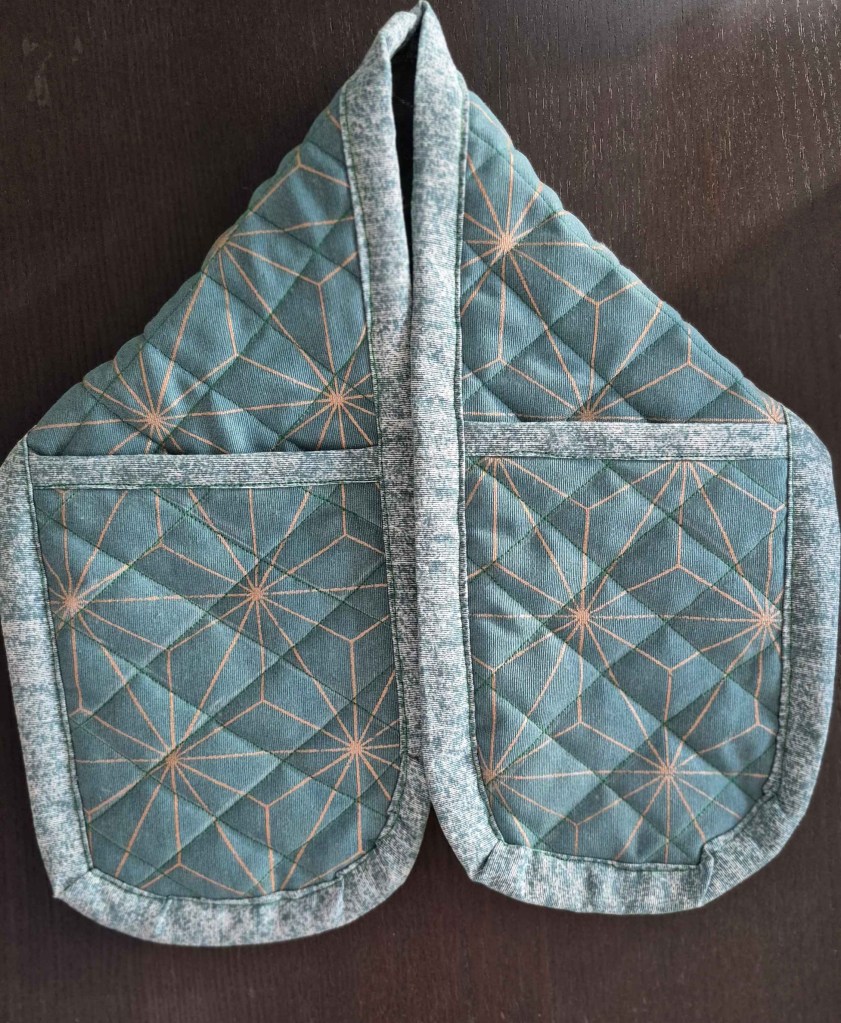
There’s something really satisfying about sewing something both practical and beautiful. For my very first project here on Threads and Merlot, I wanted to create something that every home needs — oven gloves! But not just any oven gloves… these are double-sided and sewn with a fabric that has a subtle metallic gold shimmer that catches the light.
This project is beginner-friendly, functional, and makes a gorgeous handmade gift. Let me walk you through how I made mine step by step.
What You’ll Need 🧵
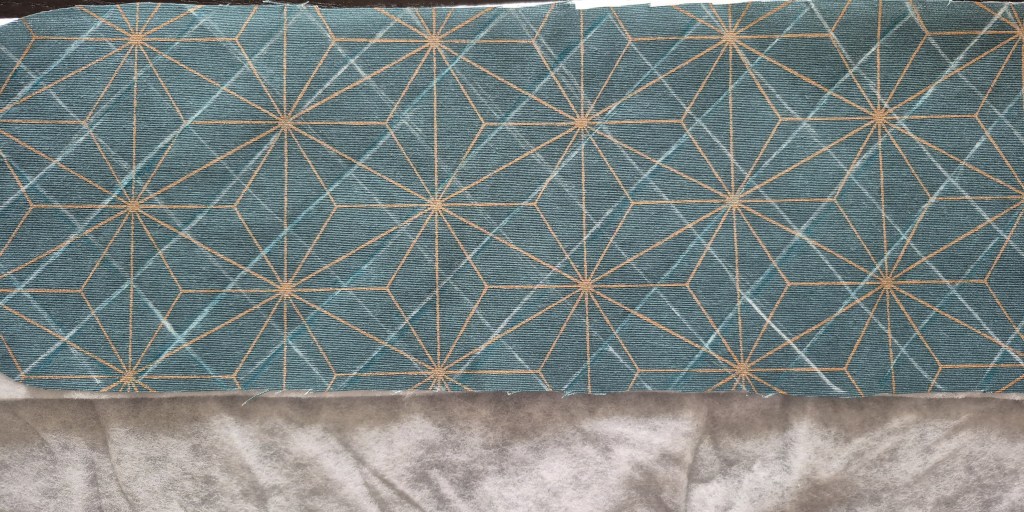
- Outer fabric (I used a teal cotton with metallic gold geometric
- Heat-resistant batting (Insul-Bright or similar)
- Sewing machine + thread
- Scissors/rotary cutter
- Pins or clips
- Oven glove template (download below)
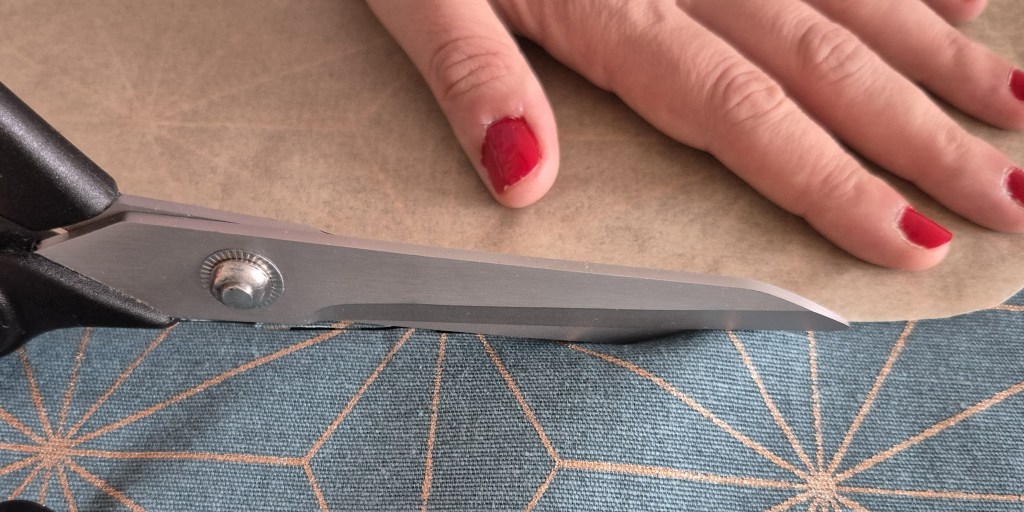
Step 1: Cut Your Pieces ✂️
Using your template, cut:
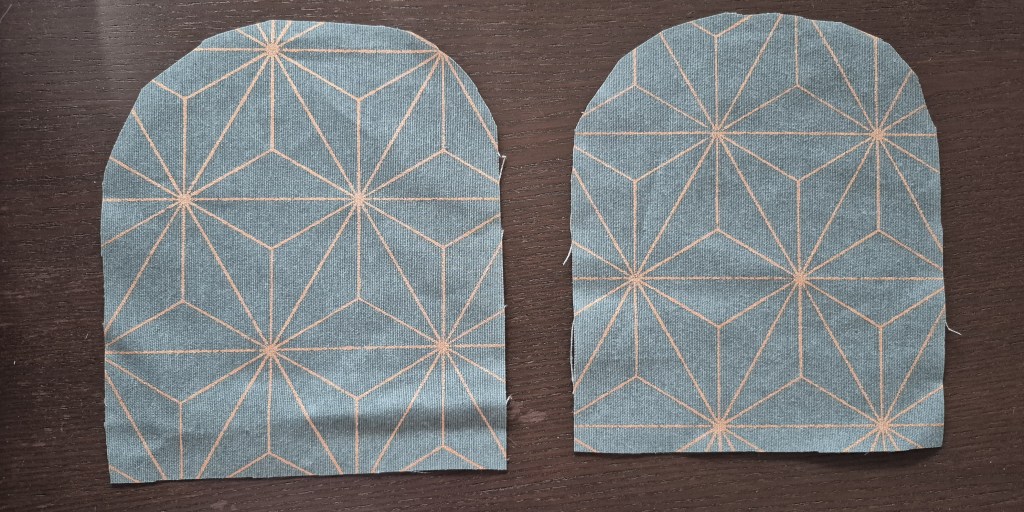
- 2 pieces of outer fabric of the long patter
- 2 pieces of outer fabric of the short glove pattern
- 3 pieces of heat resistant batting ( 1 for the long pattern and 2 for each of the gloves)
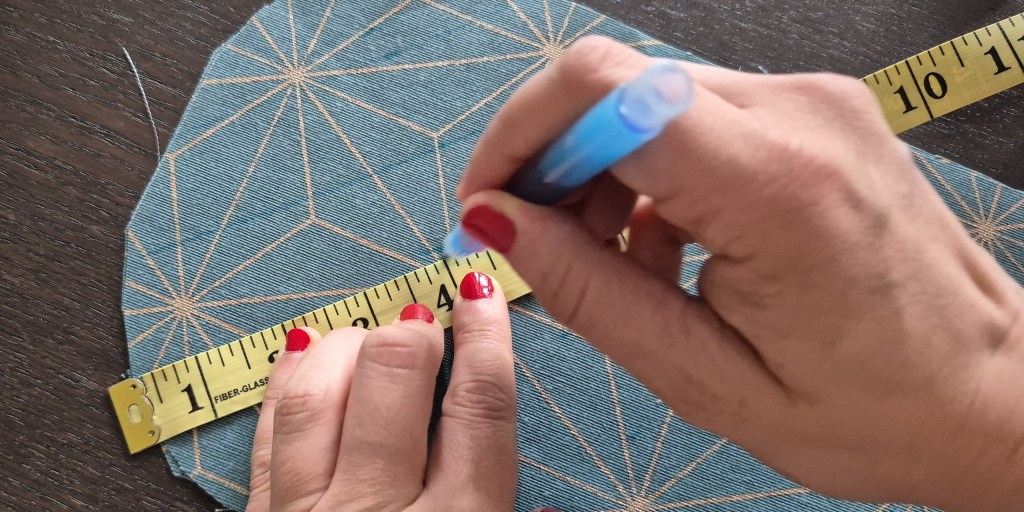
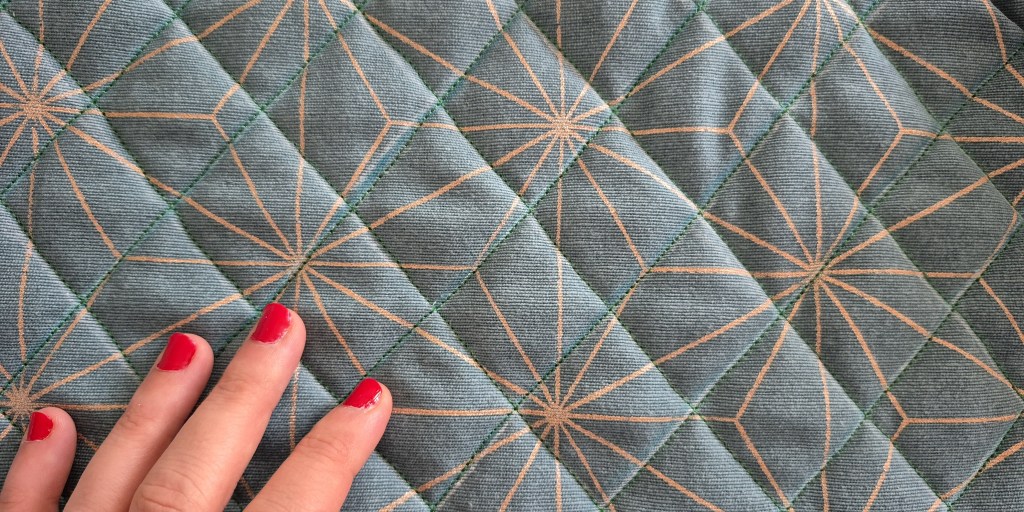
Step 2: Draw your quilting lines
Use a fabric marker and draw your quilting lines on a diagonal in both directions so you end up with a diamond shape on the fabric. I used 1¼ inches (≈ 3.18 cm) in between each line.
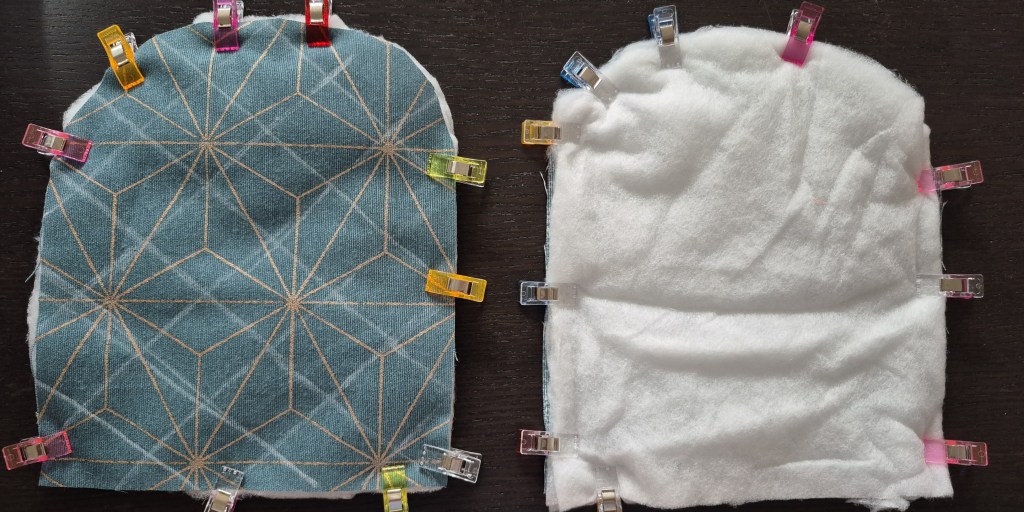
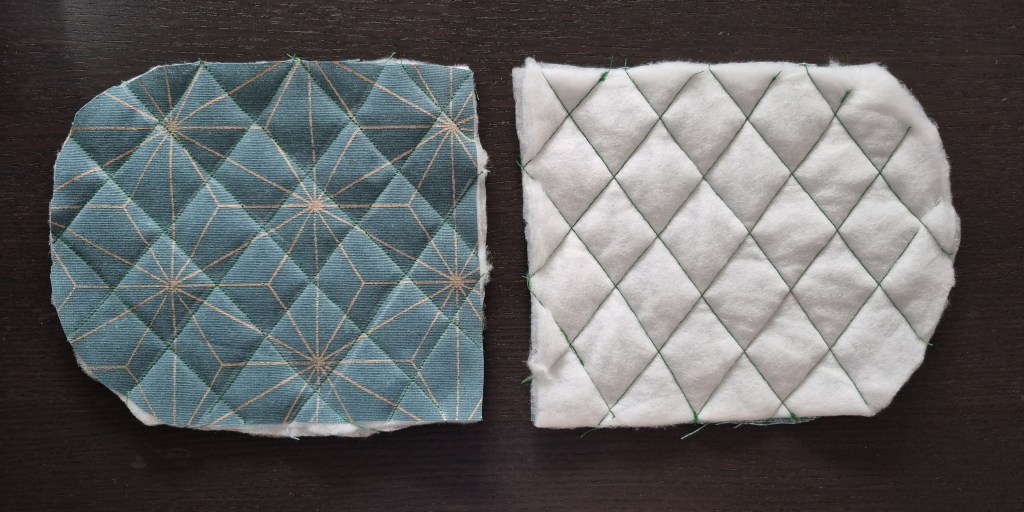
Step 3: Make the Quilt Sandwich
Layer your pieces in this order:
- Outer fabric (right side down)
- Batting in the middle
- Outer fabric on top
Clip or pin the layers together.
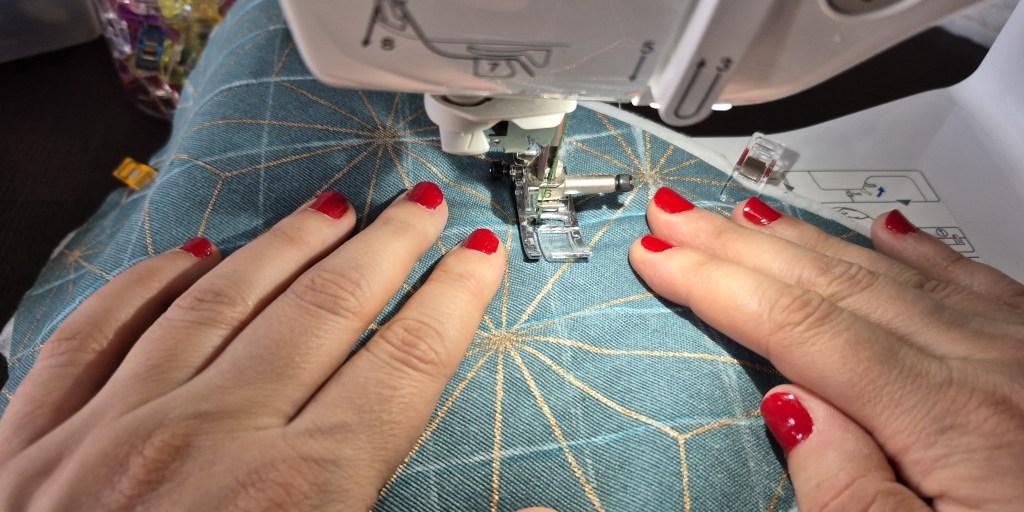
Step 3: Quilting the Layers
This is where your fabric can really shine. I followed the drawn out lines on my fabric and stitched straight through all the layers to quilt them together to improve durability.
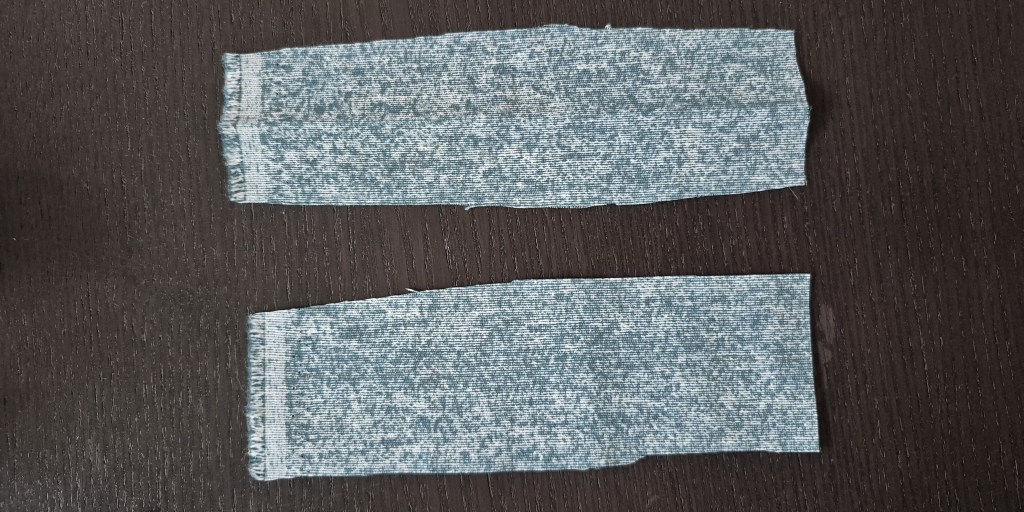
Step 4: Assemble the Glove
First, add binding to the flat sides of the smaller pieces. I made the binding 2.7 inches (≈ 7 cm) wide, which created a neat finished strip once folded in on itself twice.
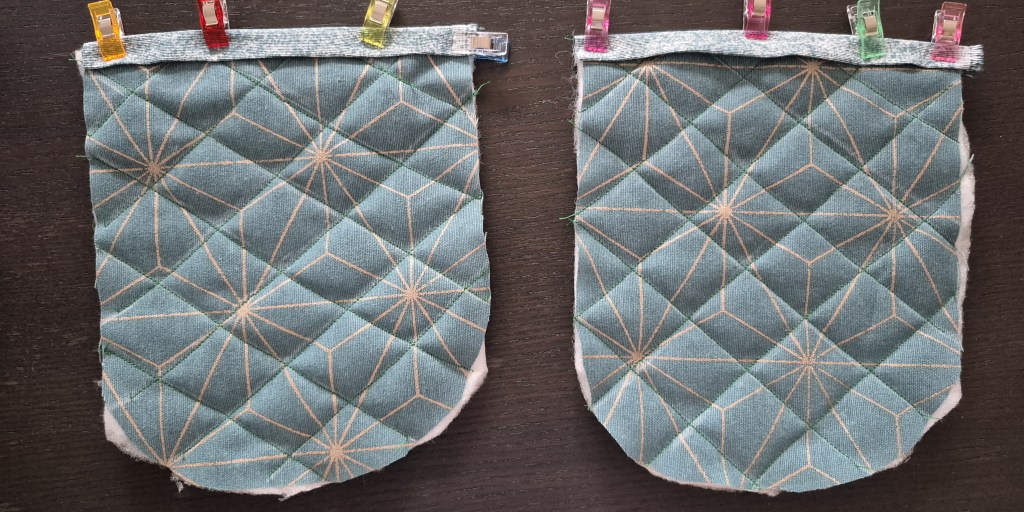
Next line up the finished gloves with the bigger piece, clip together and sew all the way around. It may be tough to sew at some parts as the gloves will be a bit bulky at this point.
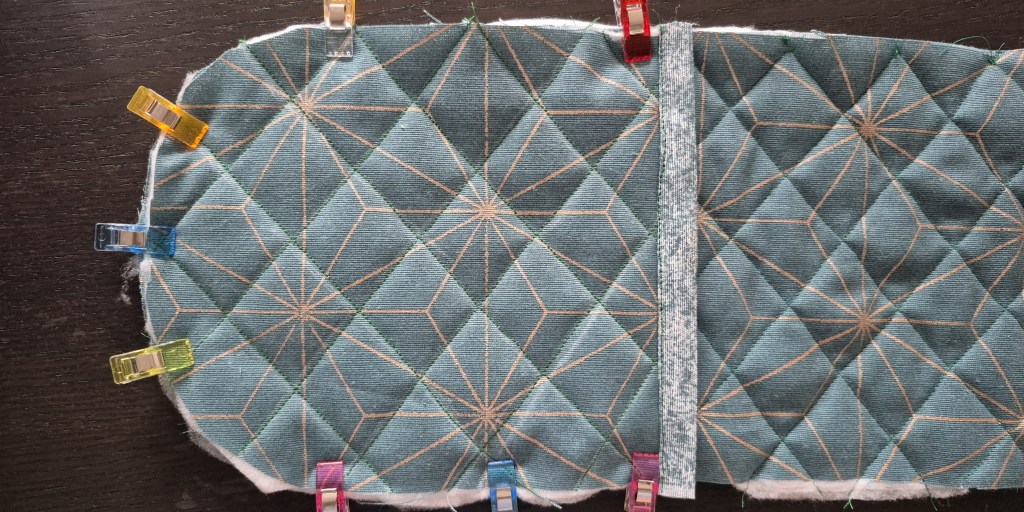
Once done, cut the binding for the long glove. I used the same thickness, with a length of approximately 6.5 feet (≈ 2 m). The extra length is intentional, as you’ll need some additional fabric to properly finish the binding. Pin the binding all the way and sew it all the way around leaving a small gap between the start stich and the finishing stich, I will tell you exactly why further below.
For the finishing of the binding you want to fold the end piece inside so that it creates a nice finishing edge and then fold it over the start of the binging and then sew it together just like in the photo below.
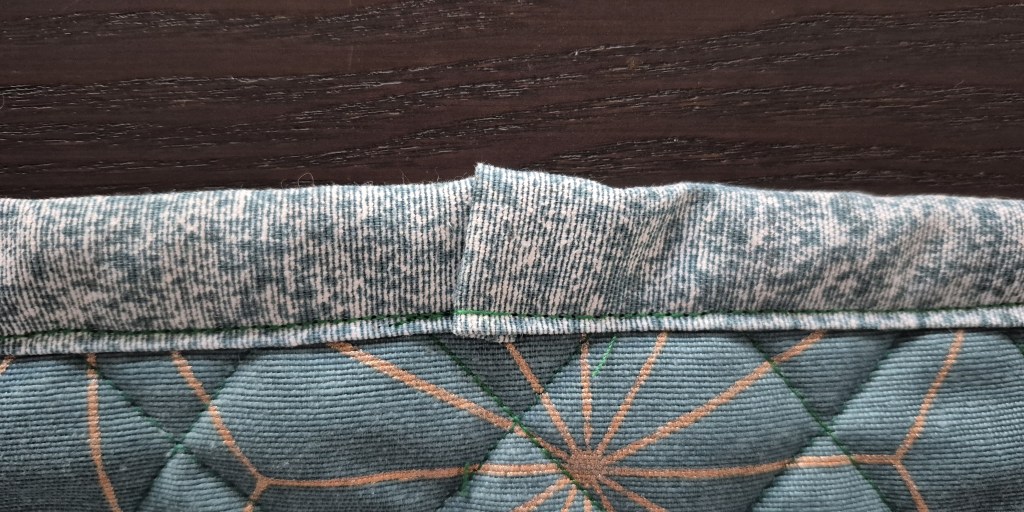
The fabric I used for the binding wasn’t as stretchy as I’d hoped, so the finished glove had a few little hiccups around the rounded sections. But who says handmade has to be flawless? I think the gloves turned out really neat, don’t you?
What’s your favorite fabric print for kitchen projects? I’m always on the lookout for fun ideas!
